Looking for a bulk order or B2B?
Contact
us to get a quote.
Check out the new generation SDWire3 available
here.
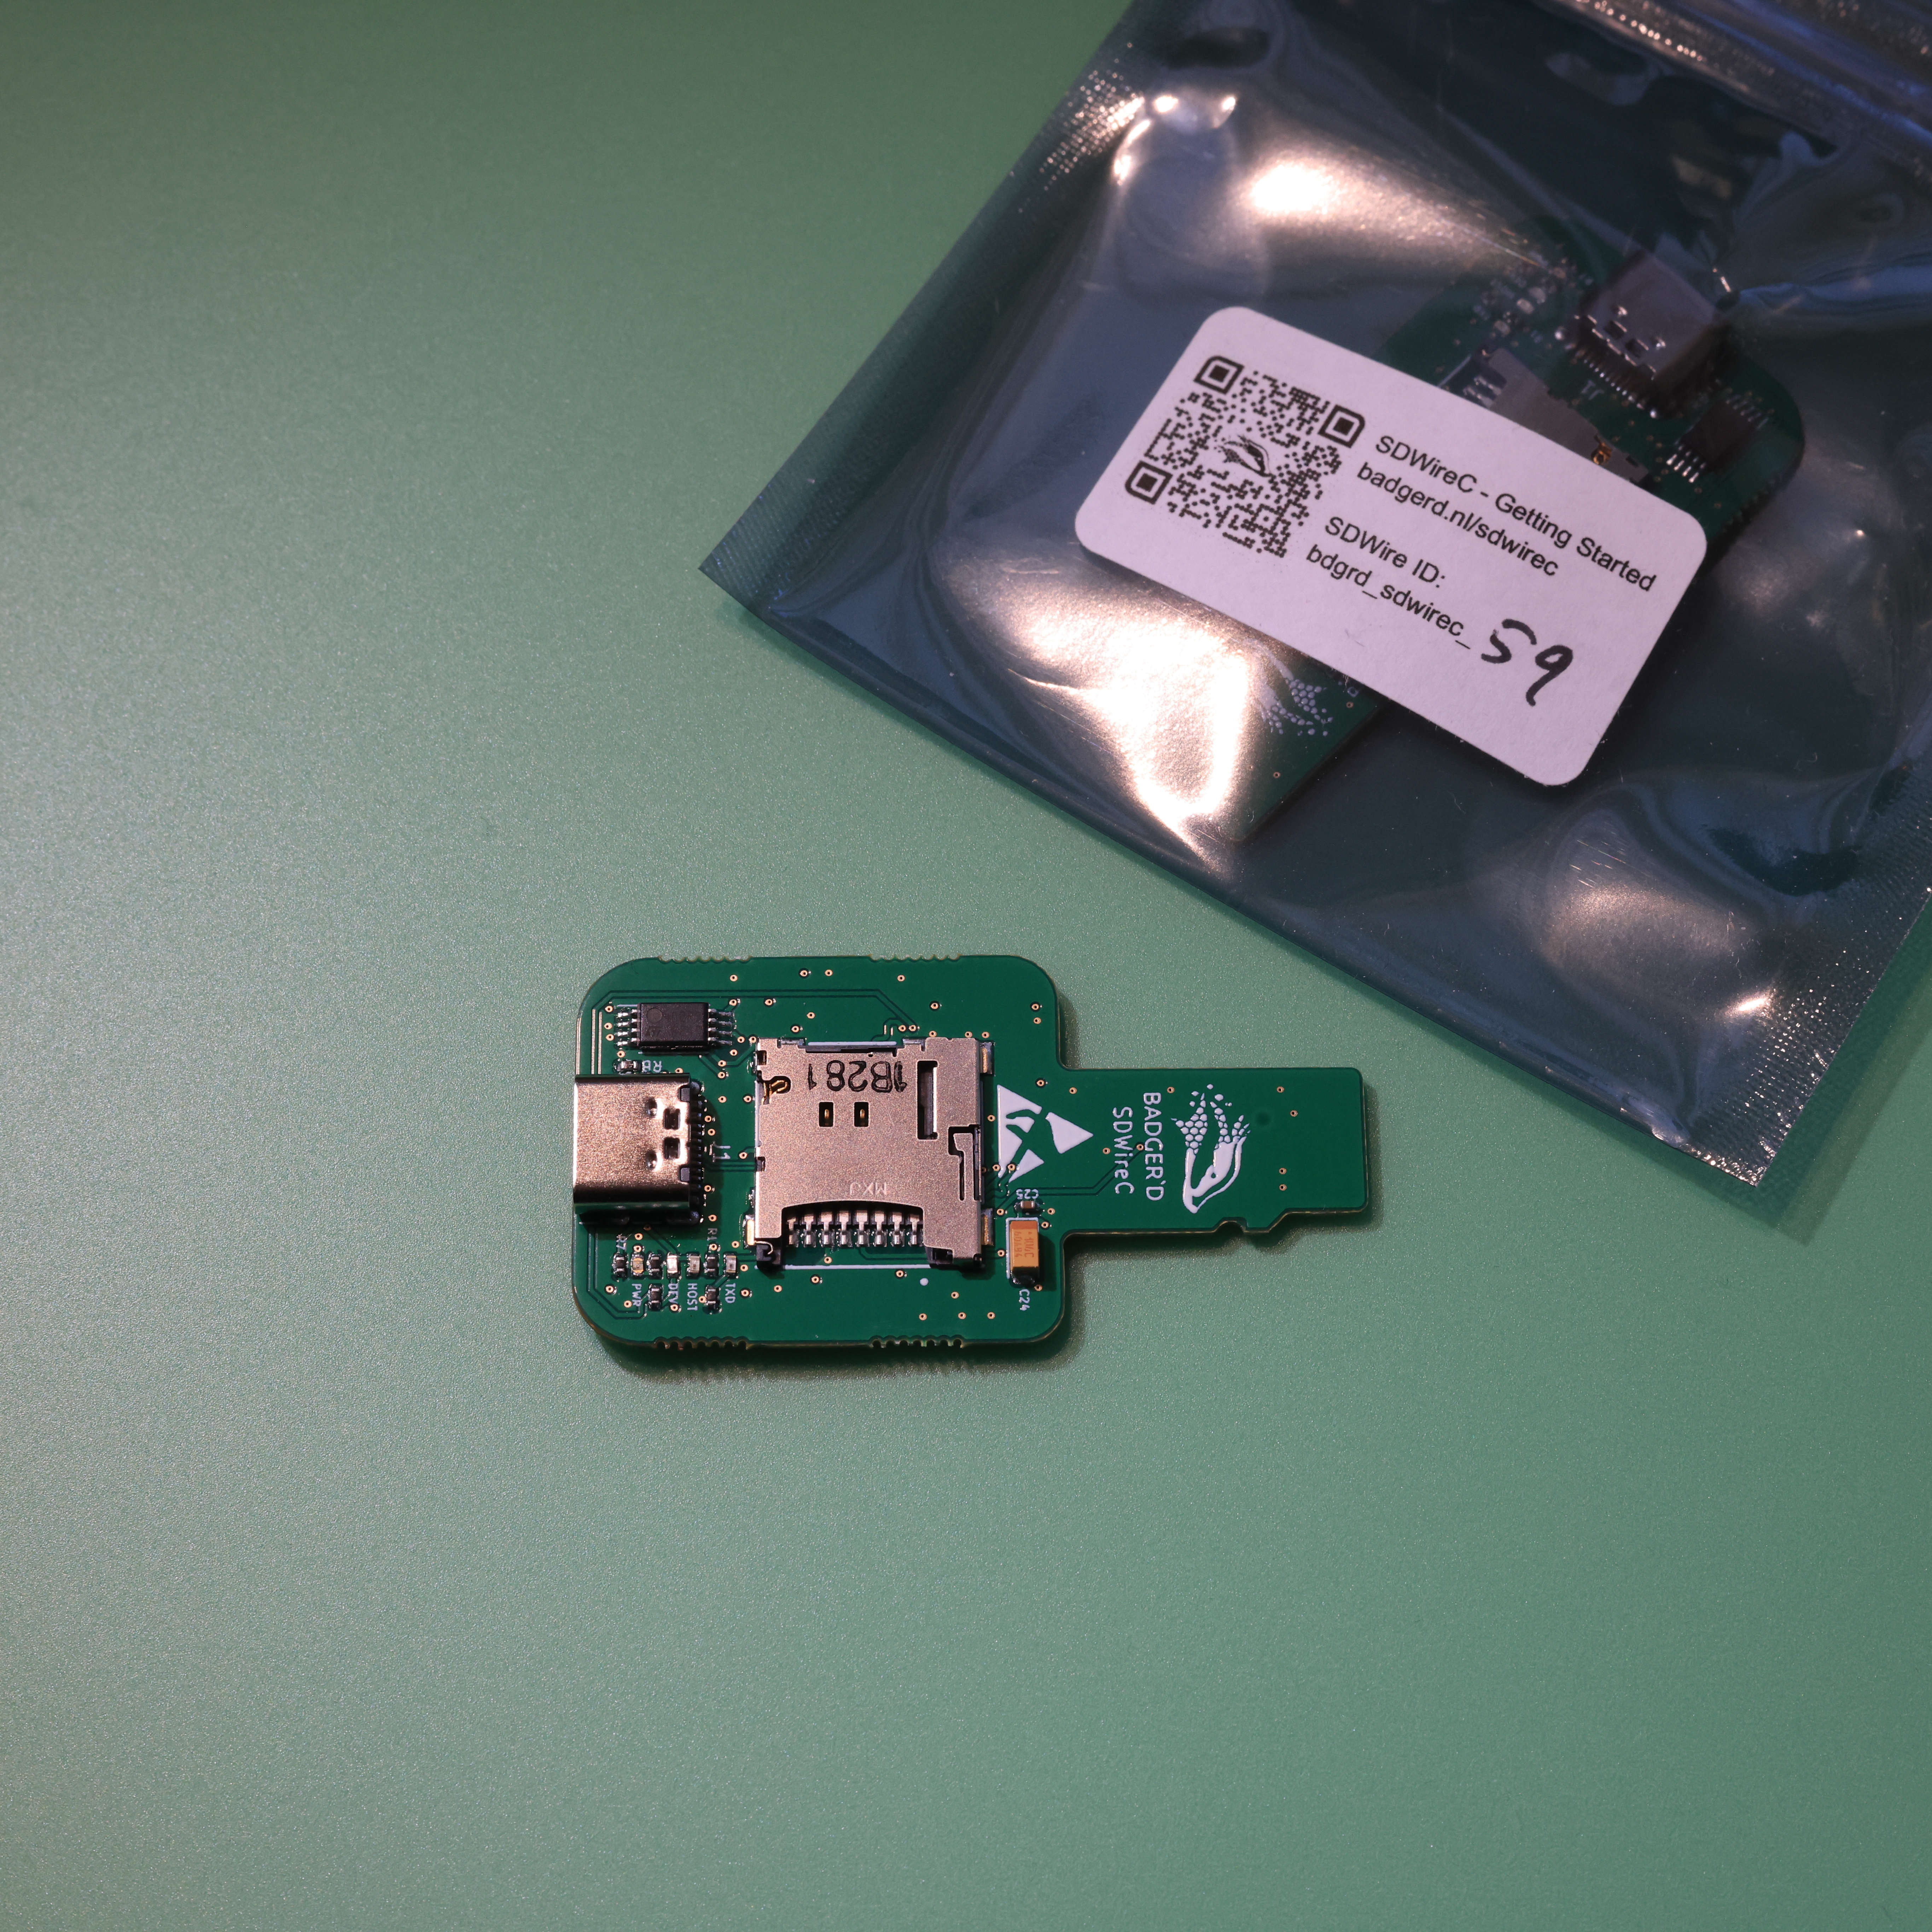
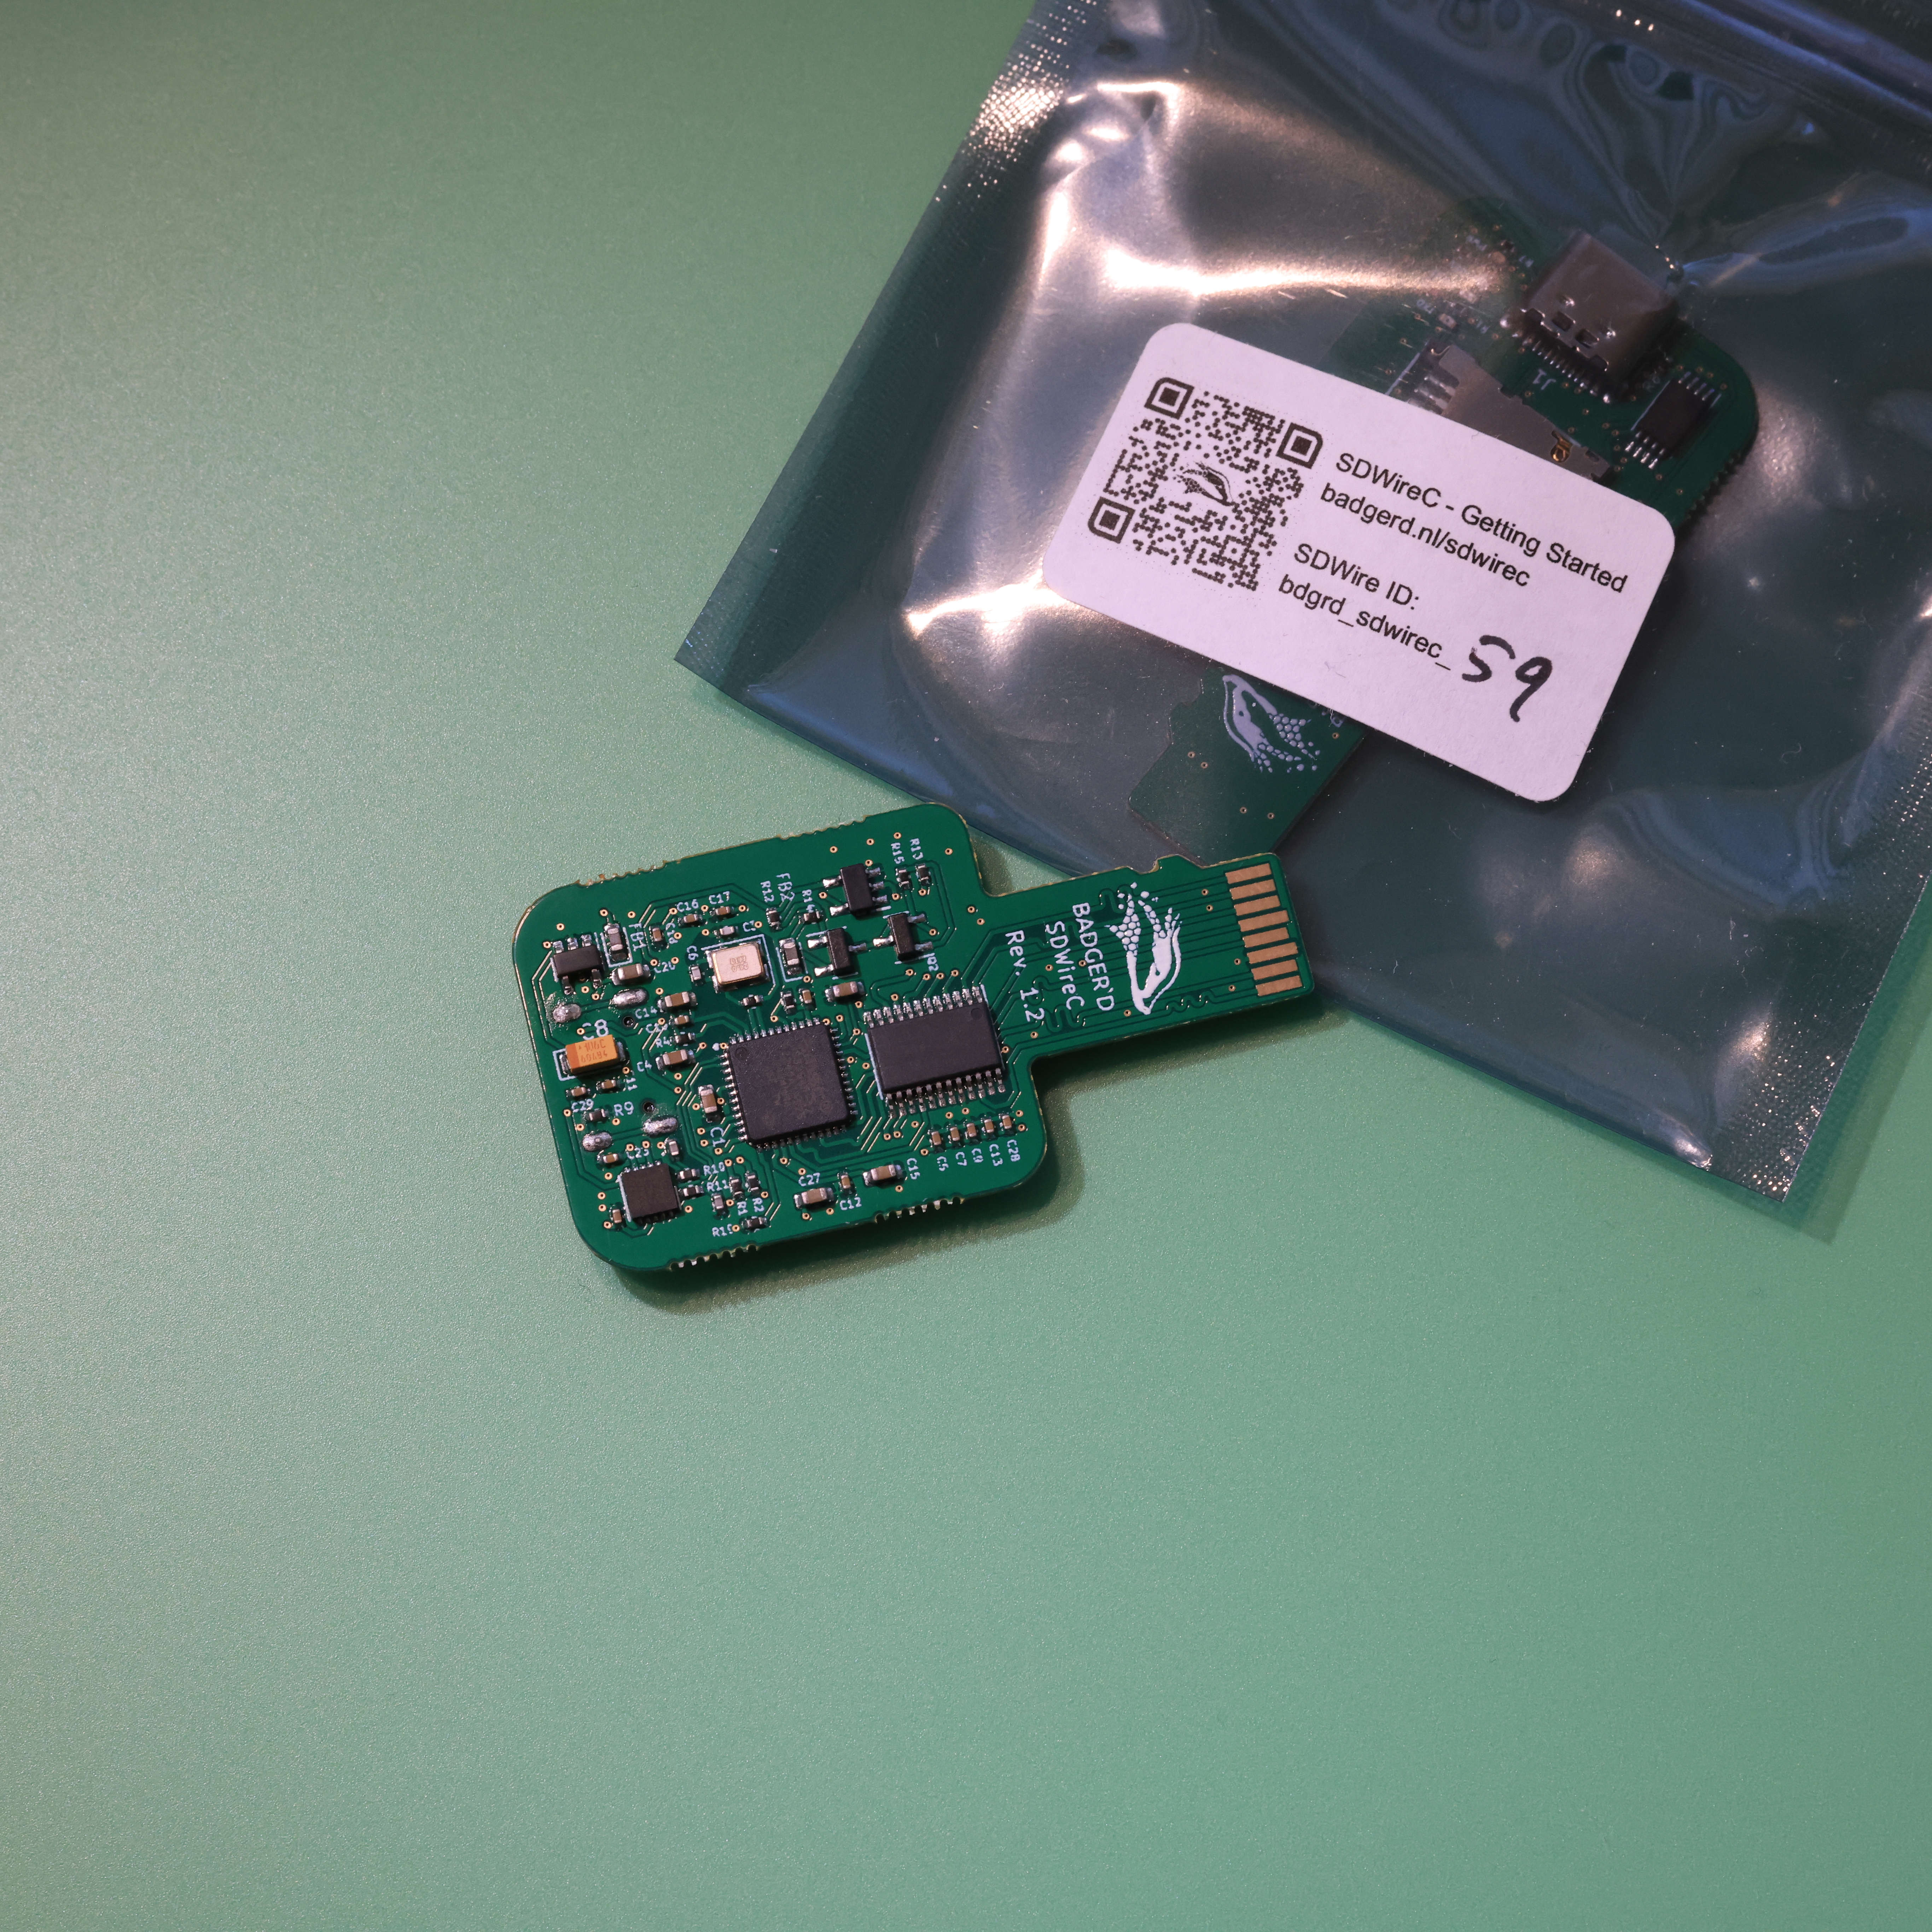
The Badger'd way of the infamous SDWire. It can be used to
automate testing sdcard interface or in 3D printing or to create a fully remote working place. In our
version of SDWire, we used USB-C interface to communicate with host.
SDWireC allows to flash SD card connected to the DUT (Device Under Test), without physical contact with
the device. There is only one USB-C socket for connecting to host PC. Both USB mass storage and MUX
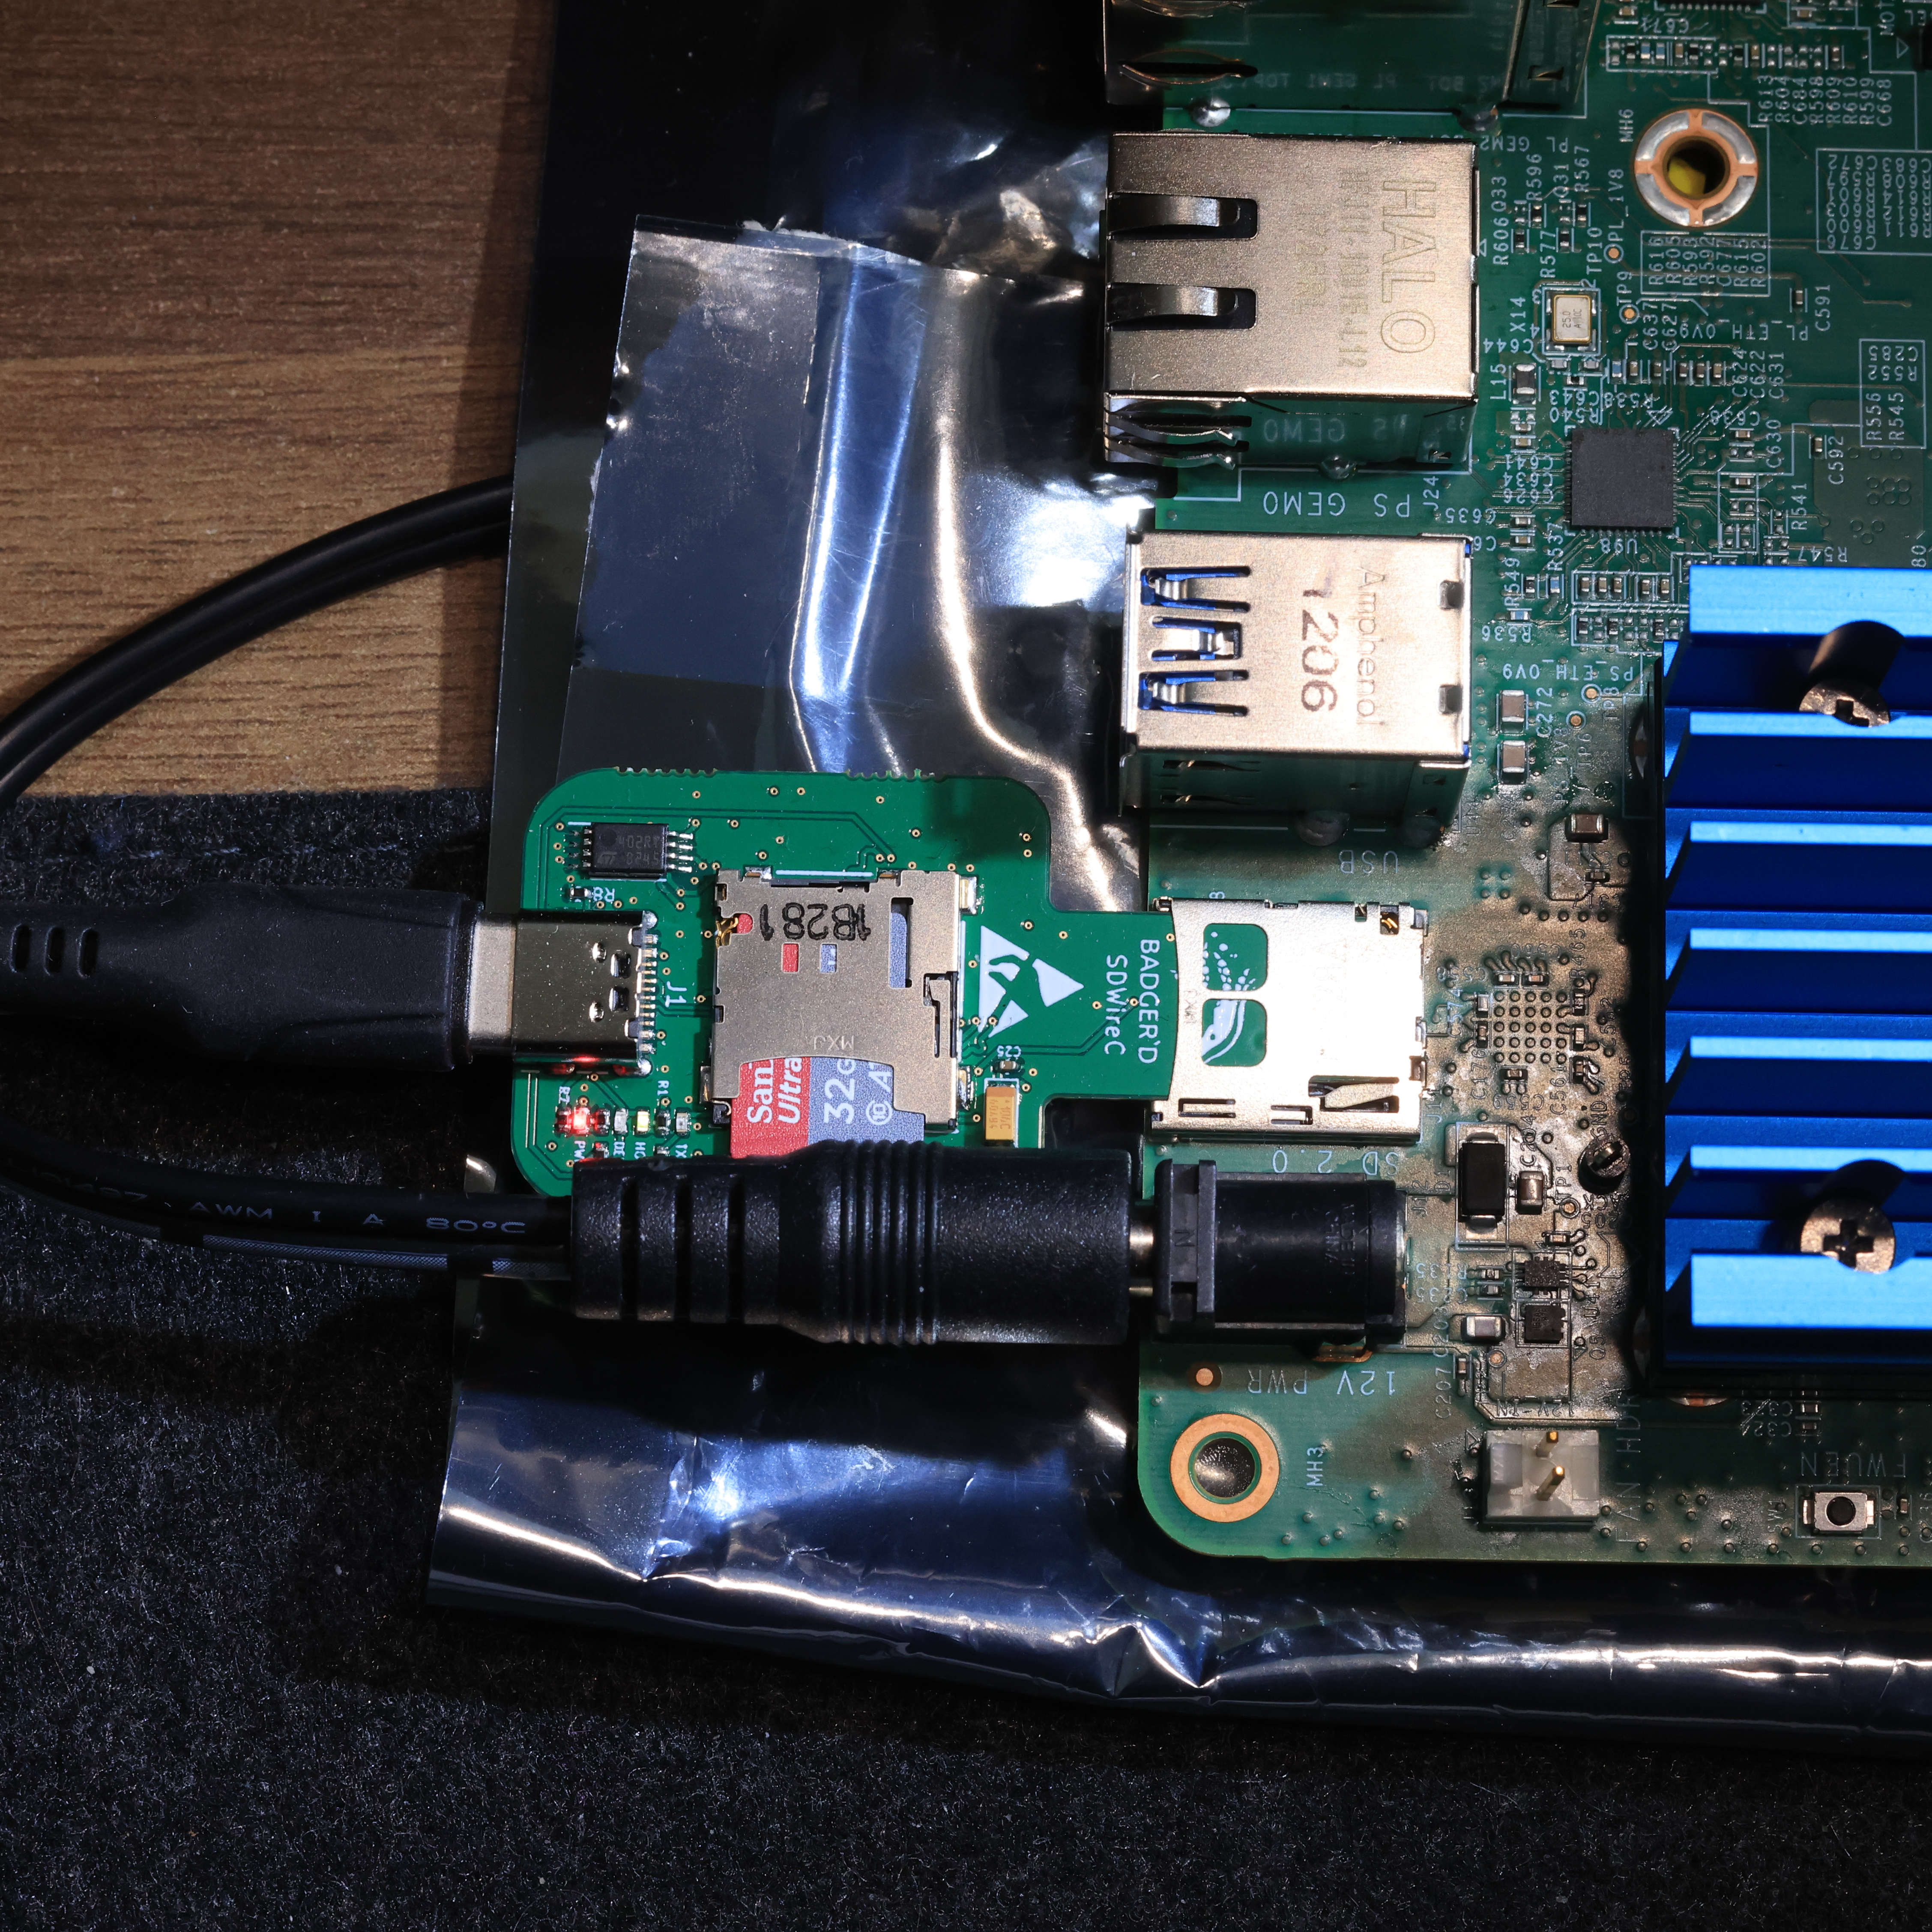
control are served through the same USB connection. The PCB board is designed in such way that it fits
into micro SD card slots. Thanks to this, there is no need for special cables with a micro SD adapter,
like in the muxPi product. It can even be used as SD card reader on steroids.
Based on Tizen SDWire:
Wiki
Go to Quick Start guide to start
testing it immediately!
All the SDWireC products that will be shipped is tested on micro SD card slot of Raspberry Pi 3 Model B
Version 1.2, using Gnome Disk Benchmark tool.
SDWireC is tested and verified on following SD cards in house:
- SanDisk Ultra A1 Micro SDHC U1 Class 10
- Samsung PRO Plus A2 Micro SDXC U3 Class V30
- SanDisk Extreme A2 Micro SDXC U3 Class V30
- Samsung Evo A1 Micro SDHC
How to use Badgerd's SDWire with USB-C?
Python CLI App
For the ones who wants to try the board easily (even in windows), we have a python application which you can install using pip as shown below. If you are in a system where you can use apt (Ubuntu/Debian/Raspbian etc.) then we would recommend you to use apt to install the sdwire as shown below. Source code of the CLI application can be found here.
sudo pip install sdwire
# use --help to see how to use the application
sdwire --help
sdwire switch --help
sudo sdwire list # to list the devices detected

# For Ubuntu users please use apt instead of pip
sudo add-apt-repository ppa:tchavadar/badgerd # for stable builds
sudo add-apt-repository ppa:tchavadar/badgerd-unstable # for daily builds
sudo apt install python3-sdwire

# For Rasbian/Debian users please use apt instead of pip directly
echo -e "deb https://ppa.launchpadcontent.net/tchavadar/badgerd/ubuntu noble main" | sudo tee -a /etc/apt/sources.list.d/badgerd.list
sudo apt-key adv --keyserver keyserver.ubuntu.com --recv-keys B35AA5B4E400B24A
sudo apt install python3-sdwire
# Do not hesitate to open issue in our github repo: https://github.com/Badger-Embedded/sdwire-cli/issues
Please keep in mind that new CLI doesnt have all the functionalities of old CLI application yet if you need those functionalities, please the guide below to unstall old CLI application.
Oldschool CLI Application
Our first step is to install dependencies to build the software we need to control SDWire. So let's execute the following command in shell.
sudo apt install build-essential libftdi1-dev libpopt-dev cmake pkg-config Now it is time to install the software to control the SDWireC.
git clone https://github.com/Badger-Embedded/badgerd-sdwirec.git && cd badgerd-sdwirec/sdwirec-sw Build and install the sd-mux-ctrl application by executing standard cmake build commands.
mkdir build && cd build
cmake ..
make
sudo make install
Commands above will install `sd-mux-ctrl` into /usr/local/bin
Since we have the tools we need, now we can continue on actually using the SDWireC. To do that we need a Raspberry Pi like device that has an SD Card slot so that we can place our SDWireC into it. Plus, we also need an USB cable to connect SDWireC to our computer. (In this case I am using my Ubuntu host)
- Make sure that Raspberry Pi is not powered
- Place SDWireC into Raspberry Pi's SD Card slot
-
Let's check if our SDWireC is already configured or not
In your computer's terminal run the following command:
sudo dmesg -w- Connect your computer (or another host machine) with SDWireC using USB cable
- Then you should be able to see 'idVendor', 'idProduct', 'SerialNumber'(alphanumeric) of the SDWireC. We are going to use these values to configure if our SDWireC is not configured yet. Let's check that!
In another terminal window, run the following command:
sudo sd-mux-ctrl --listIf you see following output in terminal, this means that your SDWireC is not configured.
Number of FTDI devices found: 0Let's configure it otherwise you can continue on step 4
Run the following command to configure SDWireC:
sudo sd-mux-ctrl --device-serial={SerialNumber} --vendor=0x{idVendor} --product=0x{idProduct} --device-type=sd-wire --set-serial=sdwirec_10Remember that all these values are coming from 'dmesg' output.
Now we should be able to see our SDWireC is recognized by 'sd-mux-ctrl'
sudo sd-mux-ctrl --list
Number of FTDI devices found: 1
Dev: 0, Manufacturer: SRPOL, Serial: sdwirec_10, Description: sd-wire
Connect SDCard to your computer (host|ts)
sudo sd-mux-ctrl --device-serial=sdwirec_10 --ts- Flash the SDCard using RPi Imager or BalenaEtcher
Connect SD card to Raspberry Pi (DUT) with sd-mux-ctrl
sudo sd-mux-ctrl --device-serial=sdwirec_10 --dutConnect power supply of Raspberry Pi (DUT) and then voila!
Hope this quick start guide helps you to give our SDWireC a kickstart. See you in another challenge!
* Shipments outside the EU may require customers to pay additional costs for Tax&Duties depending on the laws of destination country.
KvK# 87317427
Copyright © 2023 Badgerd Technologies B.V. All rights reserved.


